Why Every Photographer Should Practice Sunny 16
Understanding exposure is the most basic skill that any photographer can posses. No different than a painter needs to understand his paints, or someone who draws needs to understand his pad and pencils. Without an understanding of exposure a photographer is nothing.
By the way, the word photography has it’s origins in Greek, and can be deconstructed to mean so much as “drawing of light”. We as photographers are artists which draw with light. It’s kind of interesting to think about from that perspective, would’t you agree?
The thing about exposure is that in order to understand it best it needs to be practiced. Sure, coming to grips with the theory is important, the exposure triangle is certainly worth studying. However, the best way to truly understand how exposure, and how different settings affect the overall image is to practice it. The most effective way to practice exposure is Sunny 16.
Availability & pricing
Those among you who already know what Sunny 16 is may skip this next paragraph, for I’m going to quickly go over the basics of what it is. Sunny 16 is effectively a method of guessing what the correct exposure settings should be for a given scene based on a set of simple rules. These rules go as follows:
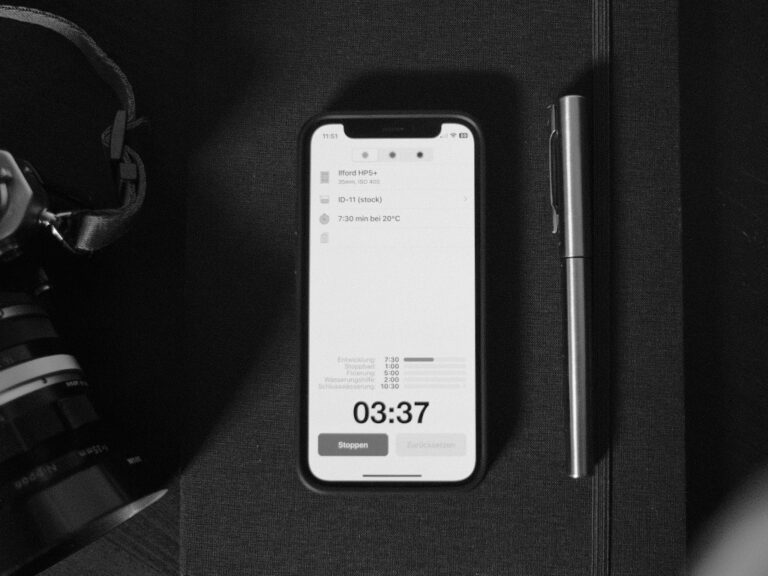
- Set your shutter to 1 over the nearest number of your film’s ISO. If you have a 400 ISO film like Ilford HP5+, than you should set your shutter speed to 1/500 of a second.
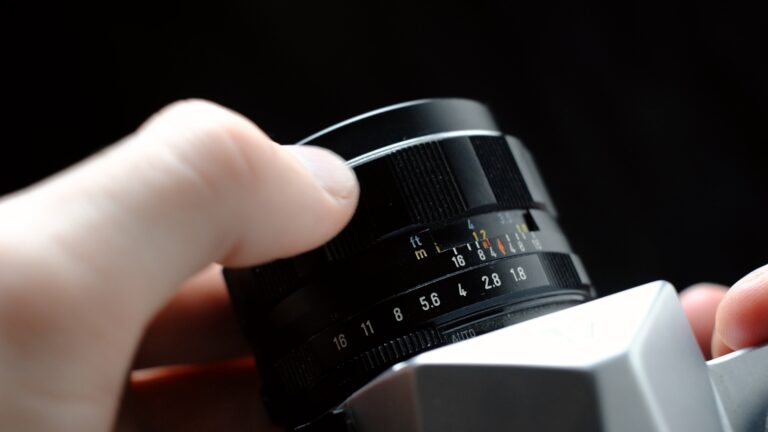
- Adjust your aperture based on lighting according to some basic guidelines (tweaking as you see fit).
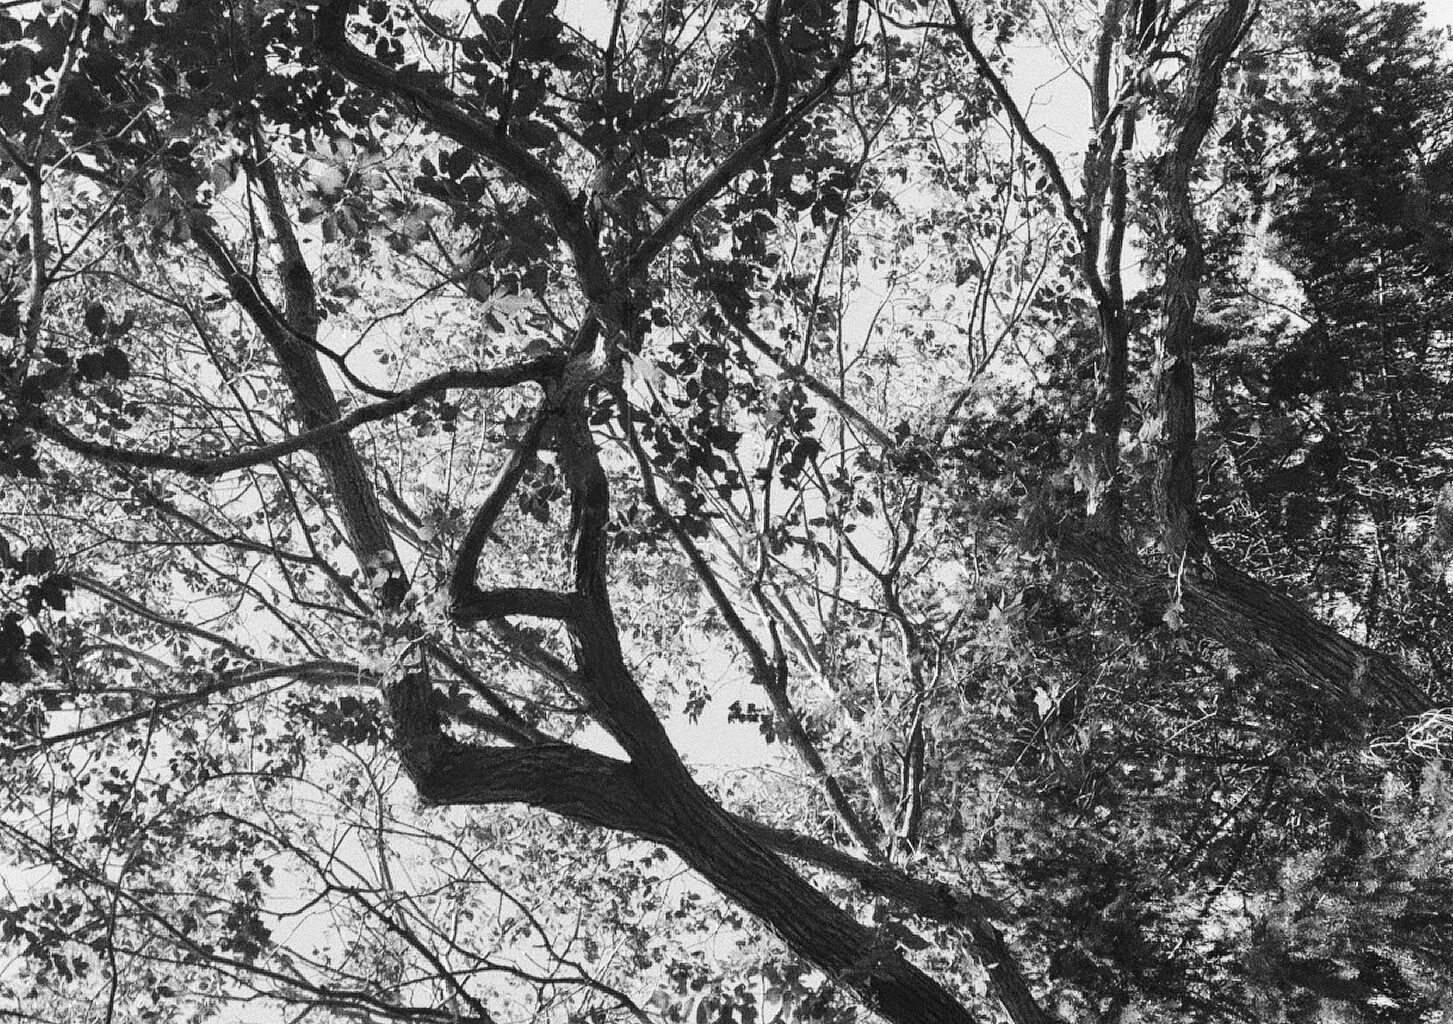
- F16 for front-lit subjects under direct sunlight.
- F11 for light cloud coverage, and for backlight subjects under direct sunlight.
- F8 for moderate cloud coverage/bright shade.
- F5.6 for well-lit overcast environments and moderate shade.
- F4 for dim-overcast days and shade.
- F2.8 and brighter for full shade and indoor scenes (depending on your film speed the shutter speed will need to be adjusted to allow for additional exposure in dim environments).
By adhering to these principles you can gauge exposure without the need to rely on light meters. Which is very practical in situations where you don’t have access to a light meter, or when your light meter is broken. Furthermore, perhaps most importantly even, it’s a method of setting exposure that forces you to carefully analyse the scene, and make a guess based on your understanding of light and exposure.
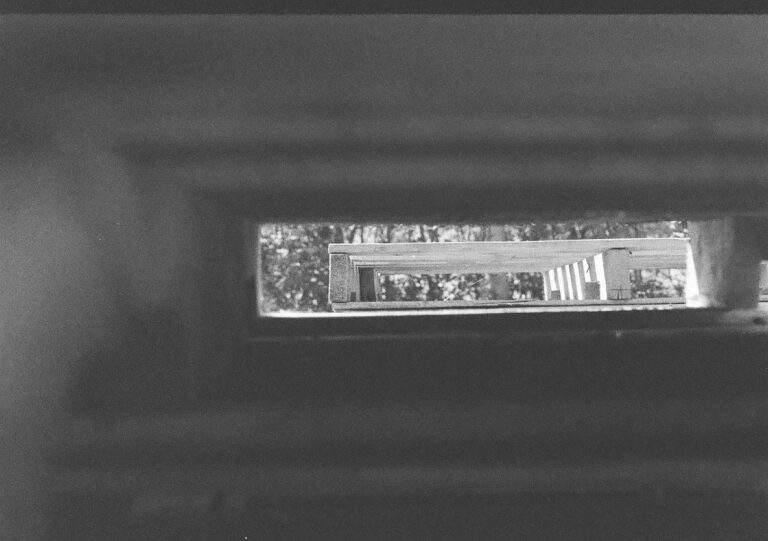
Every time you practice Sunny 16 exposure I recommend that you carefully review the negatives, not the scans, to see how your images came out. Reviewing the negatives allows you to best analyse the density (contrast) of your images without any corrections applied, which may not be possible with scans or prints. How well lit were they, did you under- or overexpose. Did you have a tendency to expose in once direction or another. Make notes of the images you’d like to improve, and the lighting conditions within those images. Repeat this process for a while and you’ll find that your understanding of how lighting will affect the final exposure of the images given the settings you choose will quickly improve.
In time you’ll be able to approach a scene and not only have a good idea of how to expose it, but, you’ll also develop a good understanding of how your images will turn out before you even release the shutter. You’ll be able to picture the final exposed image in your mind just by looking at how light is interacting with your subject and the environment that you’re shooting in.
This is what makes Sunny 16 so valuable. Aside from being a valuable technique to use when your light meter goes down, it’s simply the best tool for developing your eye for exposure.
This post originally appeared in The Chaotic Lensman newsletter.
Never miss a story – Subscribe now to The Chaotic Lensman and have old-fashioned, bite-sized analogue photography content delivered right to you inbox.